Aloha, all!
This year marks a special birthday for my second youngest brother, John, who has finally just retired from his first career. As he is a real go-getter, I have no doubt that he will be thoroughly involved in another career before too long. I can hardly wait to hear about it! But for now, I'm just happy to be able to make him a hand-made birthday card.

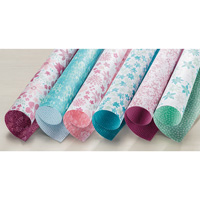
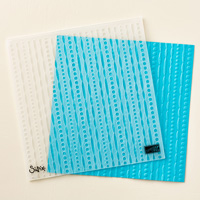
I wanted to make this card a bit on the masculine side, and I also wanted to make his card showing off some of the Stampin' Up! Designer Series Papers that are on sale (Buy-3-Get-1-FREE) all this month. For this card, I'm showing off the Blooms and Bliss Designer Series Paper set. No, it's not all flowers! There are several prints in this set that are fairly plain, as are the two prints I used in this card. My original card design included a plain Mint Macaron oval behind the banner. That made this card just too plain. So I pulled that layer off the larger oval and remade it using the Festive Textured Impressions Embossing Folder. Then I put it back together, making a couple of other adjustments. It's amazing what seeing a card in a photograph can do in terms of making adjustments! Just for giggles, I'm including a copy of the original card at the end of this post.
The creative part was looking at that 2-1/2" strip of coordinating Designer Series Paper and reversing the patterns when I die-cut the large oval mat behind the sentiment layer and its mat. I need to work on this a bit more to get everything lined up a bit more closely. But I do like the idea!
This set of papers includes the two main solid colors I used – Island Indigo and Mint Macaron. My camera seems not to want to capture either of these colors the way they look in real life. But then, the Stampin' Up! catalog photos don't do that great a job of capturing these colors, either! But believe me when I say that, whatever shows up on the camera, the colors in this paper set are just luscious!
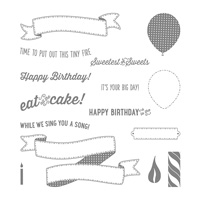
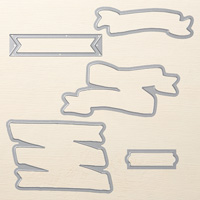
The stamped images – the banner and the sentiment – are both from the Birthday Banners Stamp Set. I stamped the banner using Island Indigo Ink and the sentiment using Mint Macaron. Then I die-cut the banner using the Bunch of Banners Framelits set, before adhering it to the ovals, both cut from the Layering Ovals Framelits set.
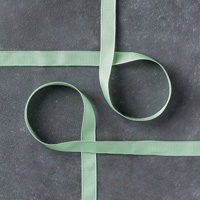
Before layering everything up, I tied a bit of Mint Macaron 3/8" Sheer Linen Ribbon around the main layered area. Then I adhered the oval layers using Stampin' Dimensionals. The final touches were two small Island Indigo Enamel Dots (from the Regals Enamels Shapes set).
Here are the links to the products I used in today's card. Just click on any photo to go to my Stampin' Up! website to learn more about the product, and even to buy it if you wish!

 And here's the original card. I hope you agree that the texturizing worked to spiff it up a bit! Besides the texturizing, the other three adjustments I made were:
- I moved the right side of the banner up a bit so that the sentiment was more on a level line.
- I reattached the banner using Stampin' Dimensionals to give the card even more depth.
- I adjusted the knot in the ribbon so that it was more centered in the space between the right side of the background oval and the edge of the card.
So that's it! Watch for another design using this layout in a couple of days!